 |
| How to Make Easter Pinata © Katrena |
When my 11-year-old daughter announced that her homework assignment for Spanish class was to make an Easter-themed pinata, I'll admit I was a bit apprehensive. Although I like crafts, this one was for a grade, and I certainly didn't want to steer my child in the wrong direction! My daughter wanted her pinata to look like a striped Easter egg, so we learned how to do this project together.
We rather rapidly learned what does not work. I would not suggest mixing rice flour and water for your bonding agent. Regular wheat-based flour might work, but rice flour does not have adhesive qualities like wheat-based flour. Our plan B had much better results as we tried plain old white school glue mixed with a little water. Frankly, I didn't measure, I just squirted about four tablespoons of glue and added a little bit of water. We covered the bowl of glue/water mixture each day and did not have any problems with the mixture drying or evaporating. We just stirred the mixture with a plastic spoon before starting each day.
If you are going to make a pinata, plan to work on it for several days. I banned my two younger daughters from touching the project and surrendered to a messy kitchen for a week, but we all survived and my 11-year-old was the proud creator of a colorful egg-shaped pinata at the end.
 |
| Supplies for Making Pinata © Katrena |
Supplies
- Balloon
- Yarn
- Hanger
- Large bowl
- Large trash bag
- Newspapers
- Long container
- White school glue
- Water
- Colored tissue paper
- Scotch tape
- Scissors
- Packing tape
- Hole punch
- Toys, candy, etc. for filling the pinata
 |
| Steps for Making Pinata © Katrena |
Step-by-Step Directions
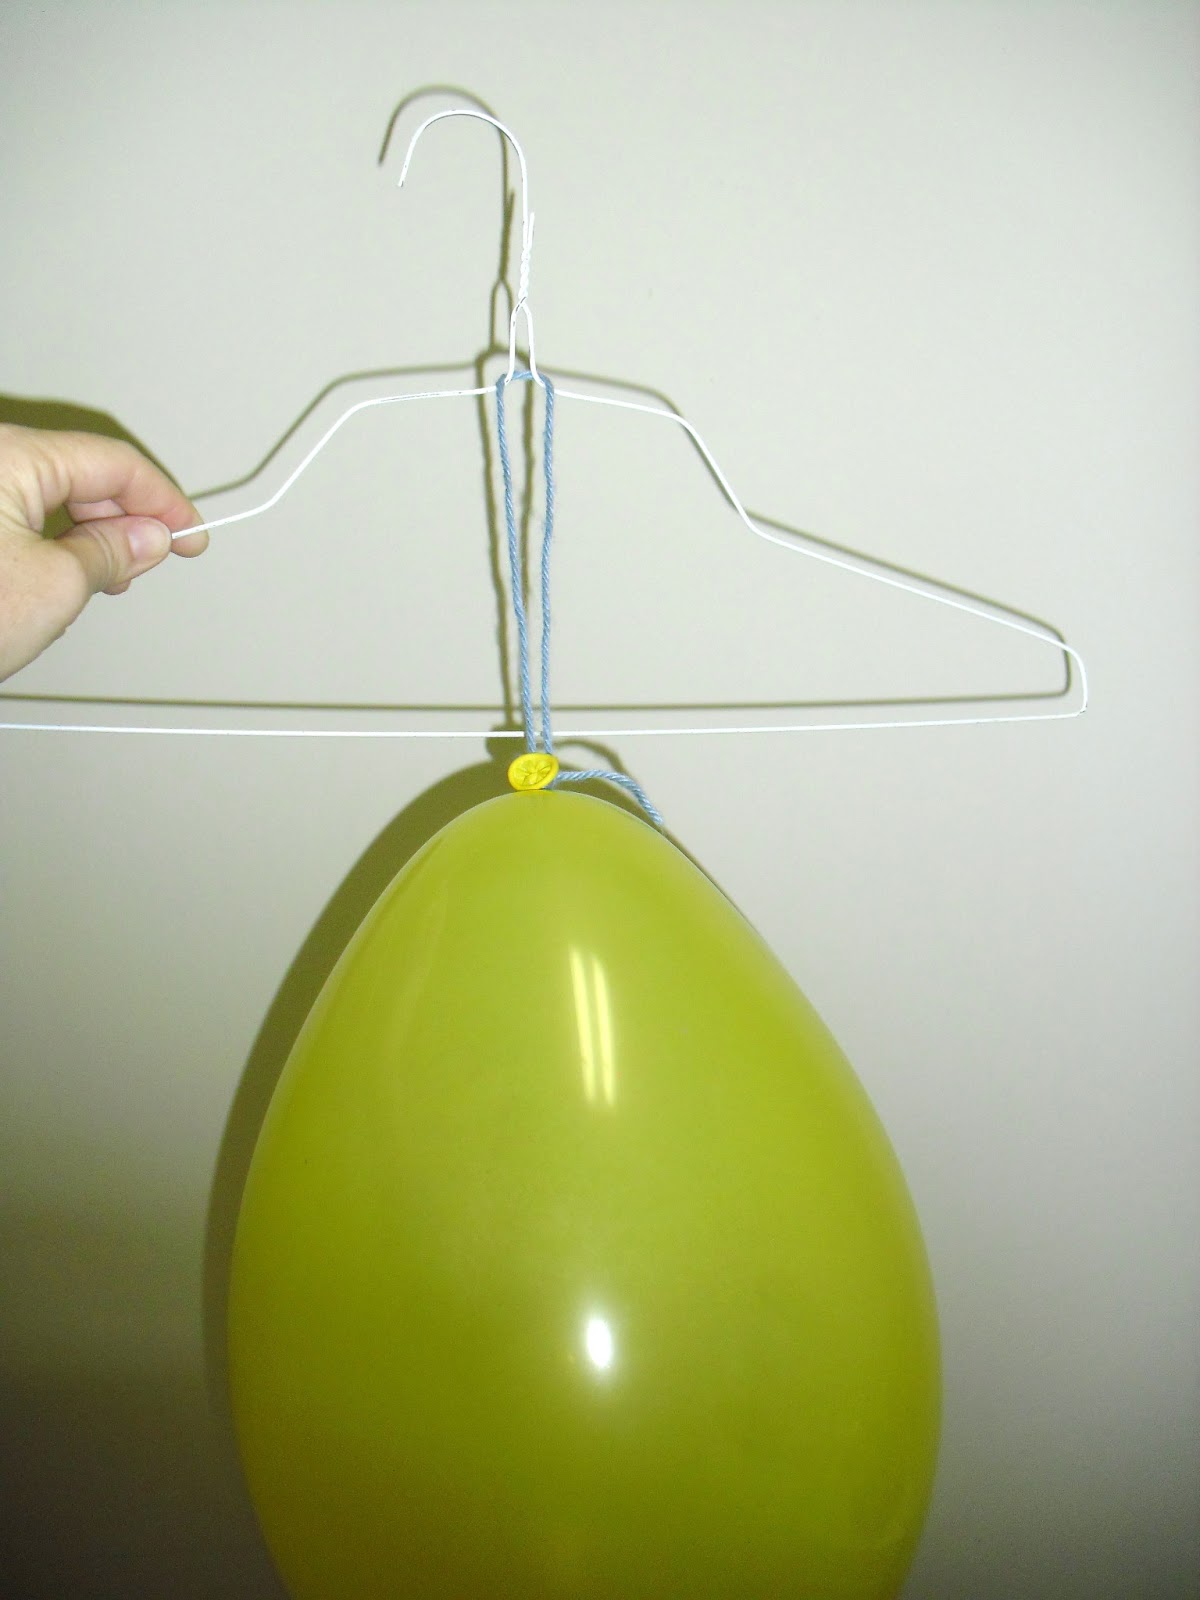
- Blow up the balloon to the desired size and tie a knot to keep the air in the balloon.
- Tie the yarn on the balloon's knot, then create a loop in the yarn and tie again.
- Hang the yarn loop over the hanger and suspend the balloon over your work surface.
- Cover the bowl with the trash bag and place under the balloon.
- Line your work surface with newspaper - this project can get a bit messy.
- Mix glue and water in the long container.
- Tear the newspaper into strips and submerge each into the glue/water mixture.
- Place the wet newspaper strips onto the balloon in a criss-cross fashion, making sure to leave about three inches at the top of the balloon uncovered. (See photo below.)
- Let the first layer dry - it will take hours for each layer to air dry completely.
- Repeat the layering process until you have about three to eight layers.
- Cut the colored tissue paper in half and then fold in half lengthwise.
- Create a quick "fringe" look by cutting the tissue paper, starting at the open edge and leaving the top two inches with the folded side uncut. (See photo below.)
- Use scotch tape or glue to place the tissue paper onto the newspaper covered balloon, starting at the bottom, ensuring that you cannot see the newspaper.
- Continue to layer the tissue paper in whatever color pattern you wish.
- Remove the pinata from the hanger.
- Pop the balloon and remove the balloon from the pinata.
- Reinforce the top layer with clear packing tape.
- Use the hole punch to make two holes, each one about two inches from the top, ensuring they are directly across from each other.
- Tie a piece of yarn through each hole, creating a hanger. (See photo below.)
- Fill the pinata with toys, candy, etc.
Find printables, scavenger hunts, and more kid-friendly activities at Katrena's
Wildflower Bouquets web site map. Readers may also enjoy my
Easter Egg Scavenger Hunt with clues.
 |
| Directions for Placing Newspaper on Pinata © Katrena |
 |
| How to Make Colorful Pinata © Katrena |
 |
| How to Make Hanger for Pinata © Katrena |


No comments:
Post a Comment
Thanks for reading my article and sending your comment! I personally review all comments before they go live and try to answer any questions.
I do not post links to other sites on this blog.